
Homestyler 102
Advanced Rendering for Designers Ready to Refine Their Work
Homestyler 102 is the next step after the basics — focused on refinement, custom techniques, and smart workflows.
This Course Is For You If…
You’ve completed Homestyler 101 (or already know the fundamentals)
You can model a space, but your renders don’t always look super-realistic
You want your work to feel more intentional and magazine worthy
You’re tired of guessing what’s “off”
You want to work faster without sacrificing quality
This is not a beginner course.
If you’re new to Homestyler, start with Homestyler 101.

The Gap Most Designers Get Stuck In
Most designers don’t struggle with the software.
They struggle with refinement.
You can have:
The right furniture
The right layout
Beautiful finishes
…and still end up with a render that feels flat or unfinished.
Homestyler 102 focuses on the next layer — the small, intentional skills that make a space feel complete.
What You’ll Be Able To Do
Create renders that feel finished, intentional, and client-ready
Confidently refine lighting, camera angles, and realism details
Utilize and build with structural elements for ease and accuracy
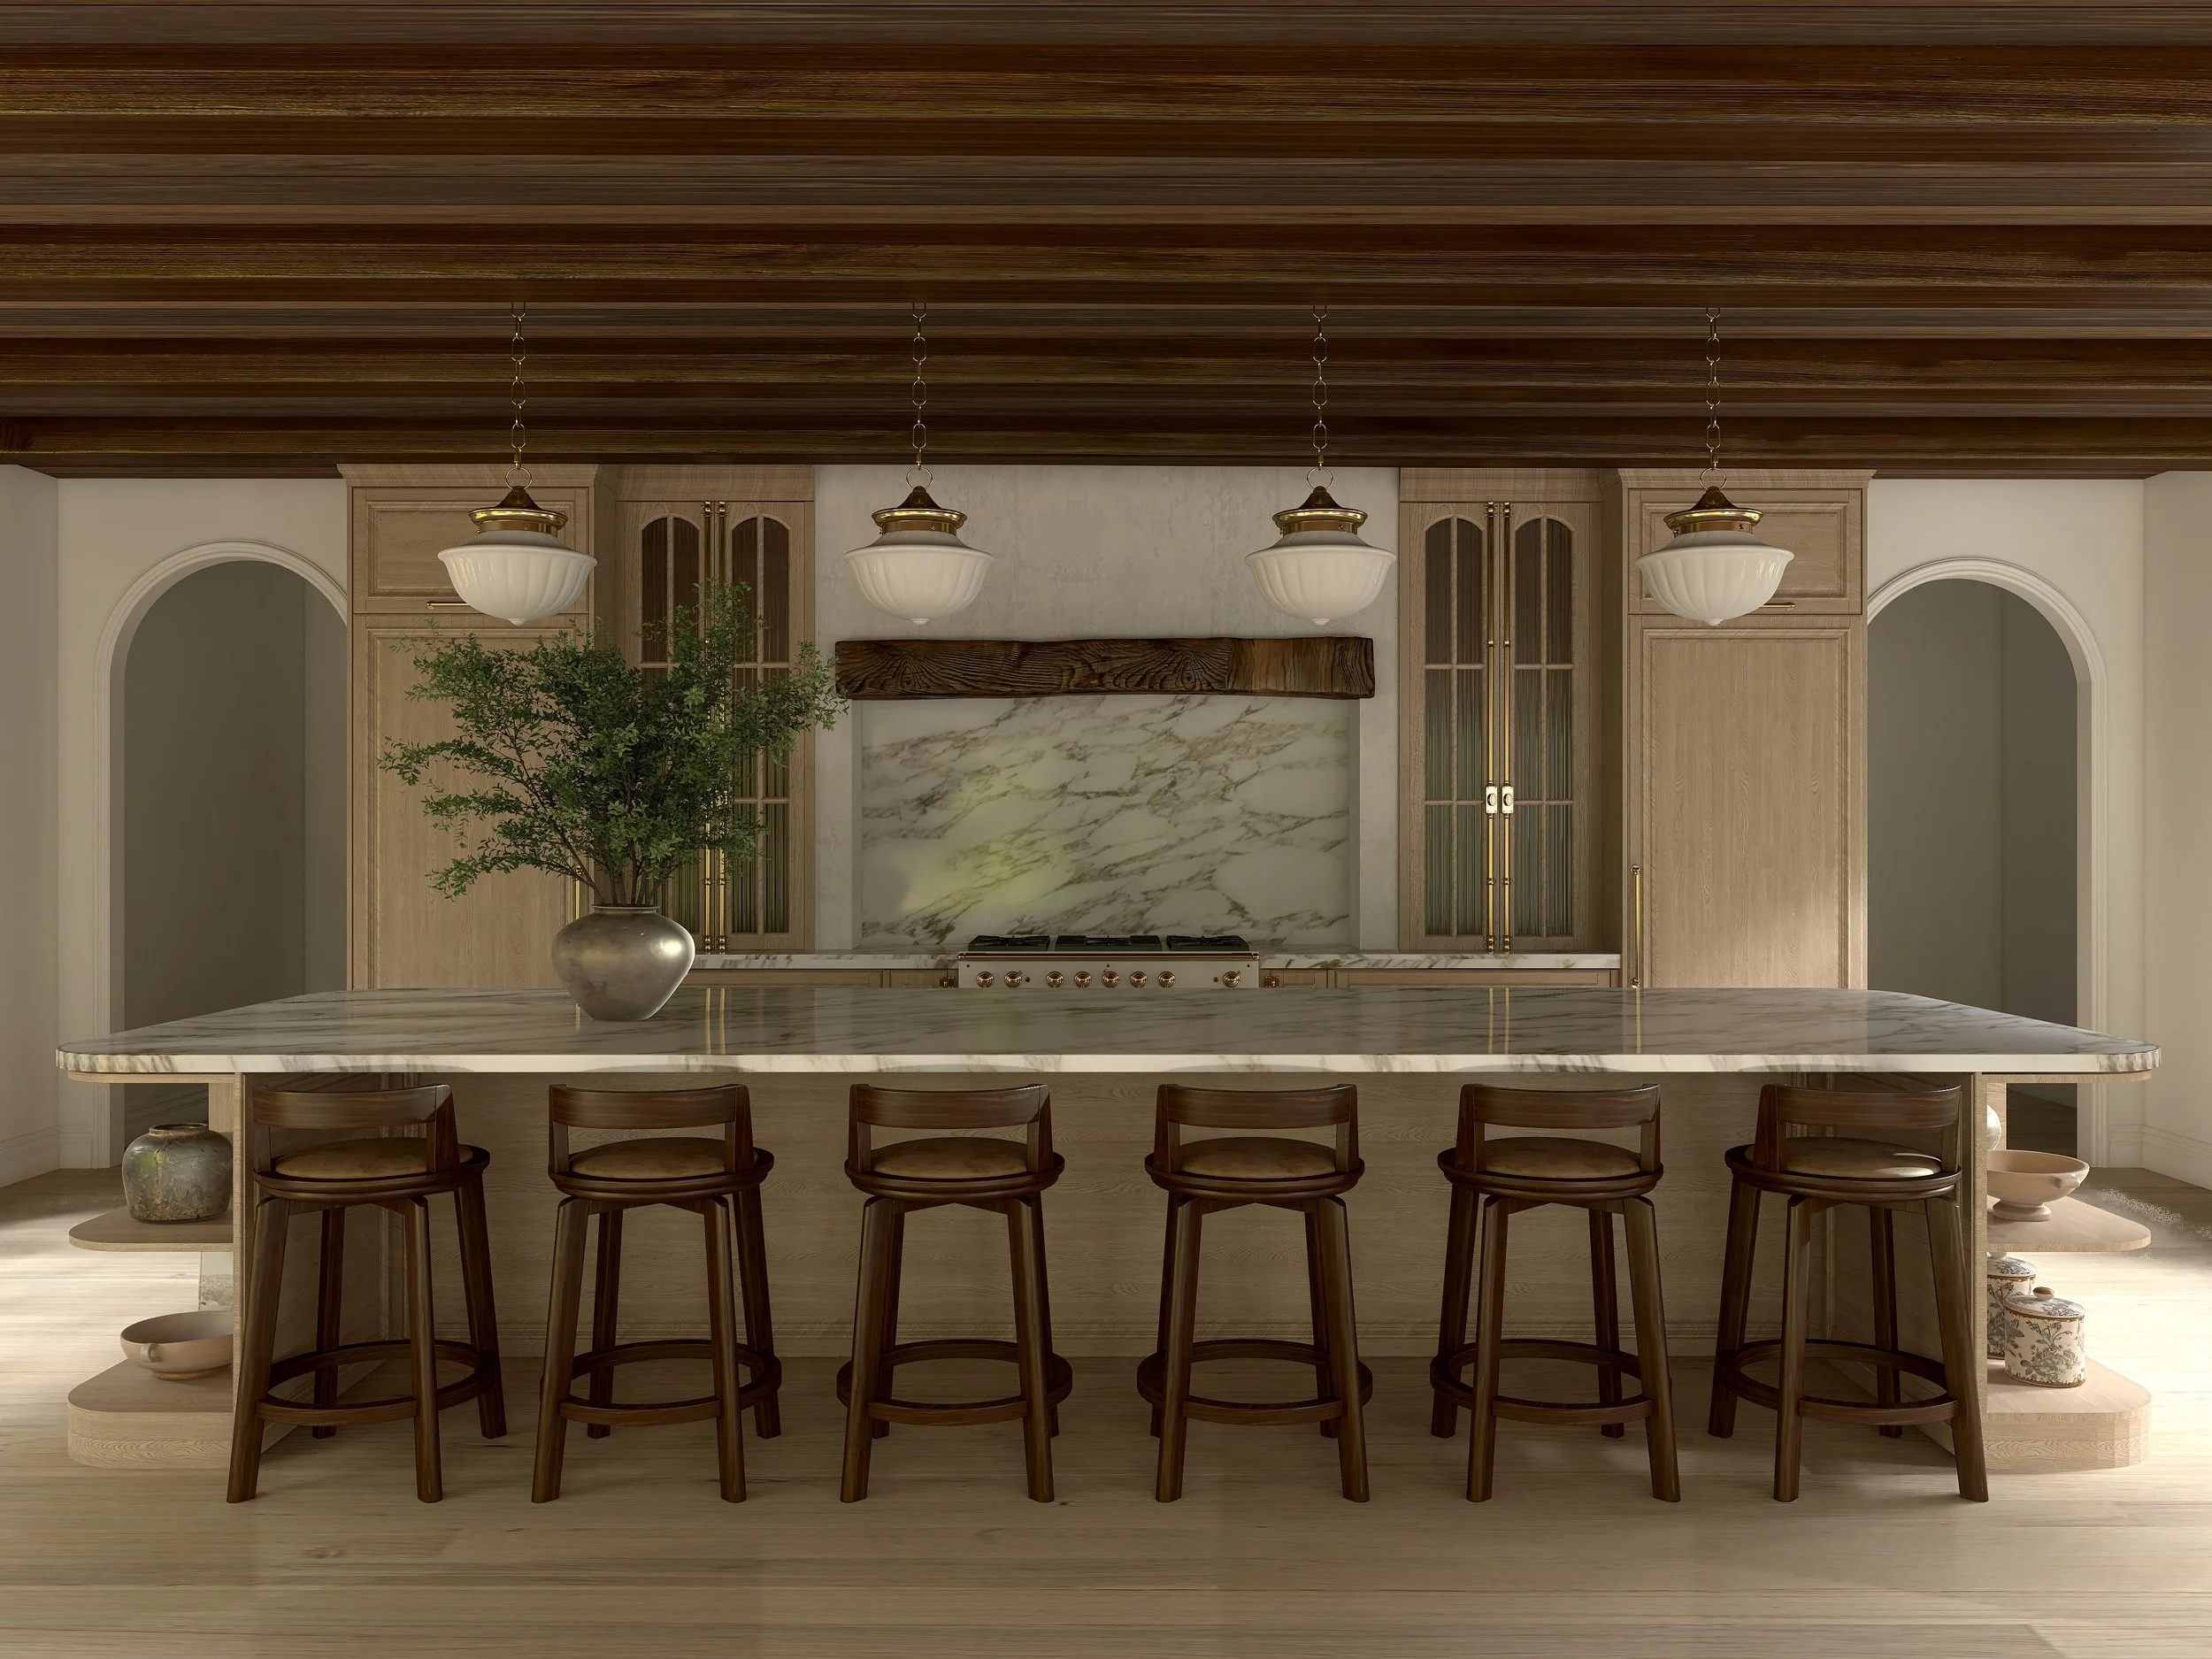
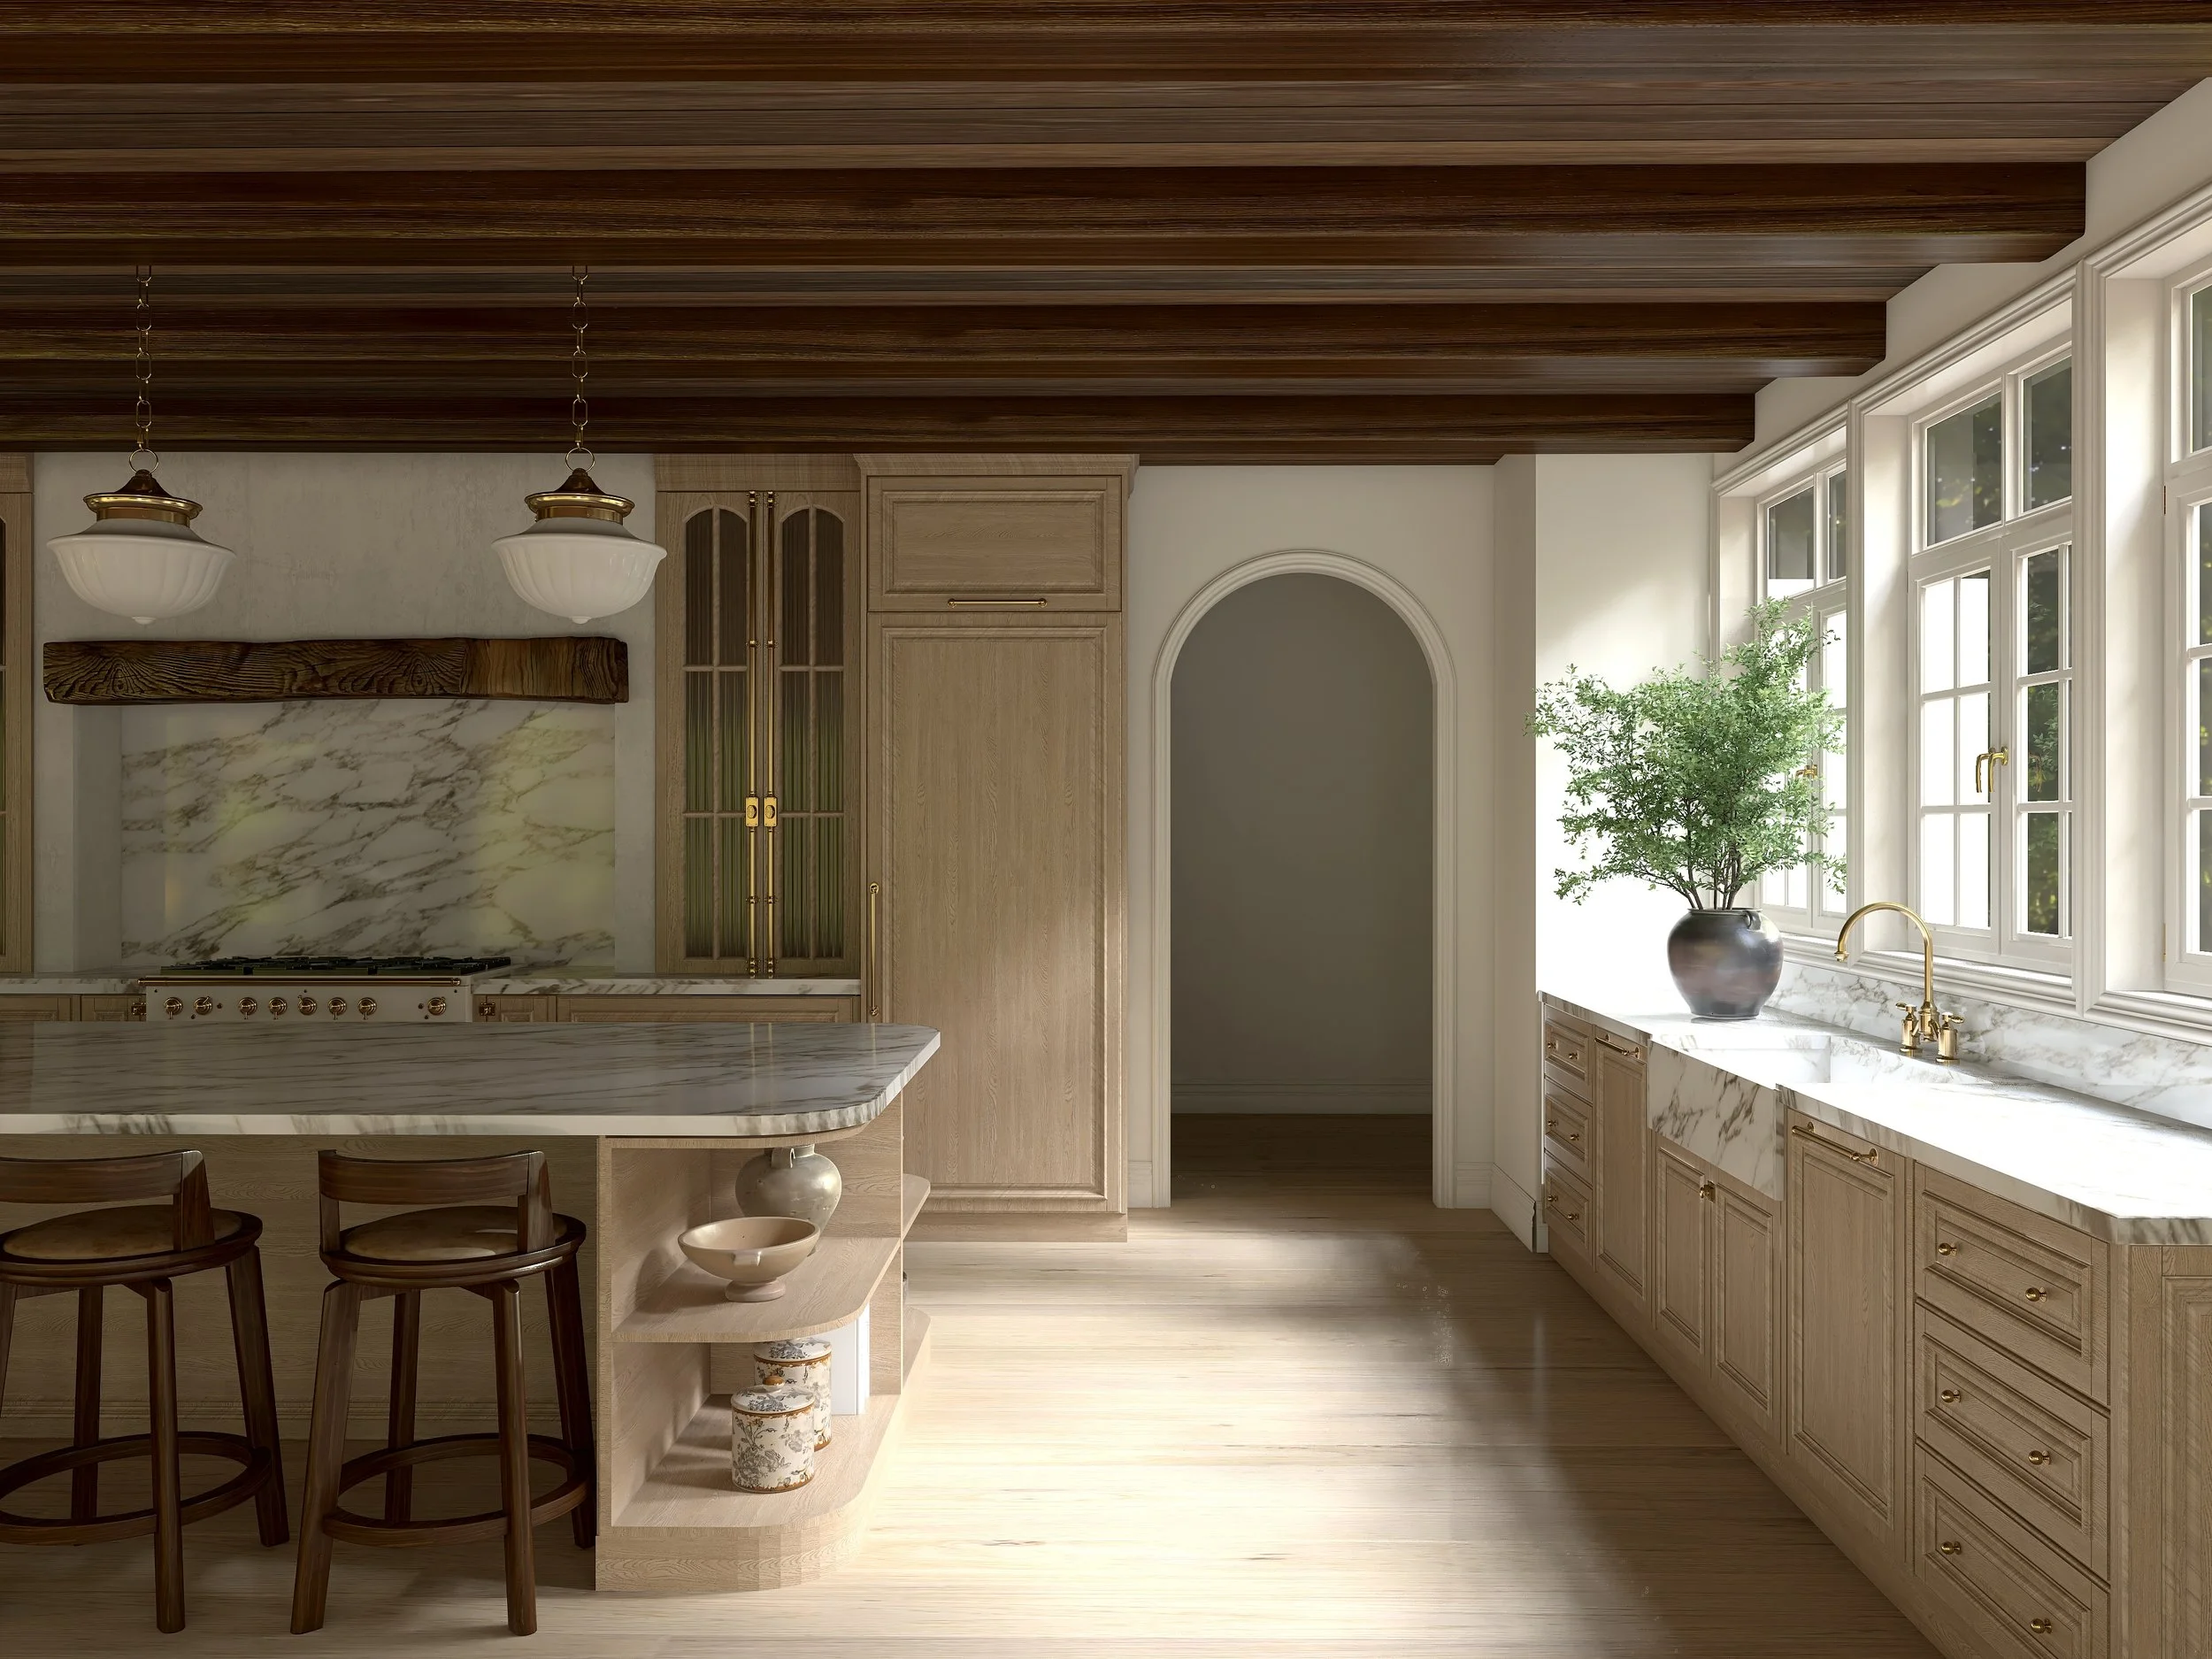
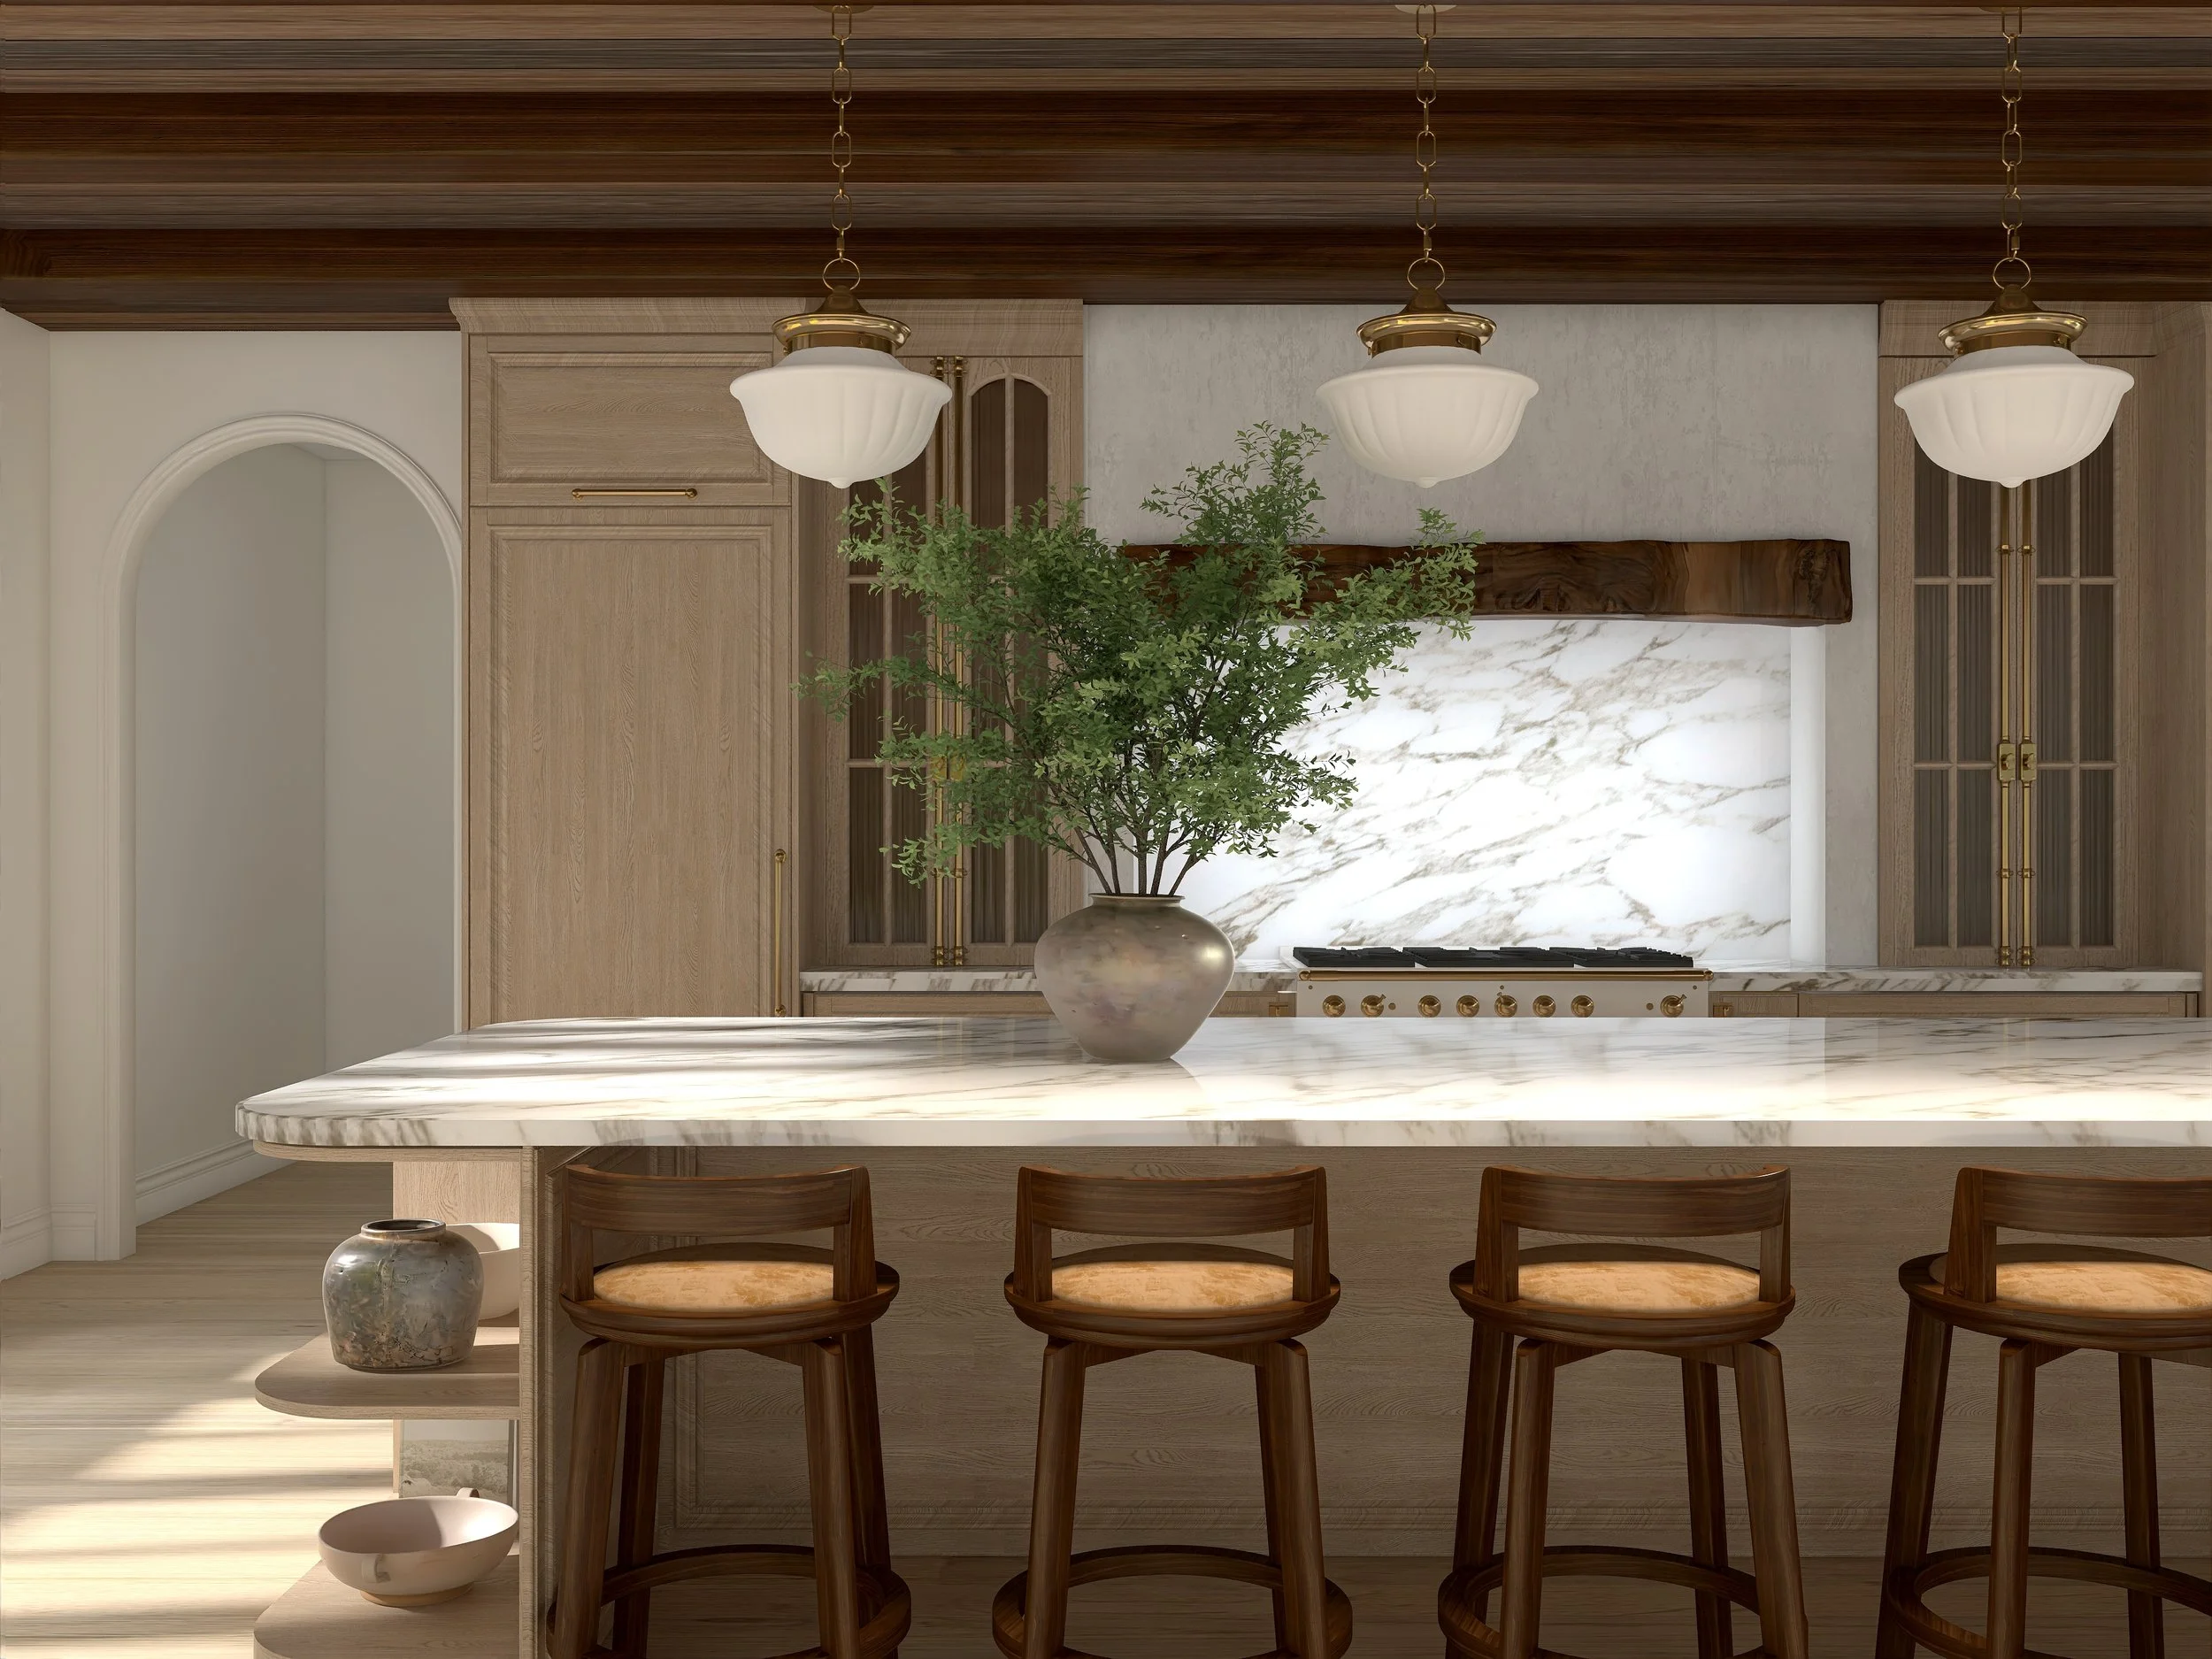
Design kitchens with thoughtful, high-end detail
Work faster with an organized, repeatable workflow
This is where “I think it’s done?” turns into “Yes — this is ready.”
How This Builds on Homestyler 101
This course is focused on intentional details, refinement, and flow.
Homestyler 101 teaches you how to use the tool.
Homestyler 102 teaches you how to use it well.
101 = foundation
102 = refinement
They’re designed to work together — but each has a very clear purpose.
What’s Included
✔ Advanced video lessons
✔ Real-world design examples
✔ Refinement techniques you can apply immediately
✔ Workflow guidance for designers using Homestyler professionally
✔ Lifetime access so you can revisit as your skills grow
-> Purposeful training, designed with intention.

Why I Created Homestyler 102
After teaching Homestyler 101, I saw the same thing over and over again.
Designers understood the software —
but didn’t fully trust their results.
They were close.
They just needed refinement.
Homestyler 102 was created to close that gap and help designers present work that feels elevated, intentional, and magazine worthy.
Ready for the Next Layer?
If you’re happy where you are, that’s okay.
If you’re ready for your renders to feel high-end and complete, this is your next step..
Course FAQ
-
Yes. Homestyler 102 is designed as a continuation and assumes you already understand the basics of Homestyler. If you’re new, I recommend starting with Homestyler 101.
-
No — this course is intentionally not beginner-focused. Homestyler 102 is for designers who already know the fundamentals and want to refine and elevate their work.
-
You’ll receive lifetime access, so you can revisit lessons anytime as your skills and projects evolve.
-
Yes. This course is built specifically for Homestyler and focuses on design-led rendering workflows within the platform.
-
Because this is a digital course with immediate access, all sales are final. If you’re unsure, I recommend starting with Homestyler 101.
-
That’s okay. Homestyler 102 will be here when you are. There’s no pressure to move faster than your learning curve.
A Look Inside The Course…
-
Welcome to Homestyler 102
-
Module 1: Lighting & Camera Angles
-
Lesson 1: My Preferred Render Settings
Introduce your lesson with an optional, short summary. You can edit this excerpt in lesson settings.
-
Lesson 2: Get Your Lighting Right with Lightmix
Introduce your lesson with an optional, short summary. You can edit this excerpt in lesson settings.
-
Lesson 3: Best Camera Angles
Introduce your lesson with an optional, short summary. You can edit this excerpt in lesson settings.
-
Lesson 4: Analyzing the Renders
Introduce your lesson with an optional, short summary. You can edit this excerpt in lesson settings.
-
-
Module 2: Seamless Patterns
-
Module 3: Tips & Tricks For Build Elements
-
Lesson 1: Creating Split-levels on the First Floor
Introduce your lesson with an optional, short summary. You can edit this excerpt in lesson settings.
-
Lesson 2: Second Floors, Open to Below Ceilings, & Stairs
Introduce your lesson with an optional, short summary. You can edit this excerpt in lesson settings.
-
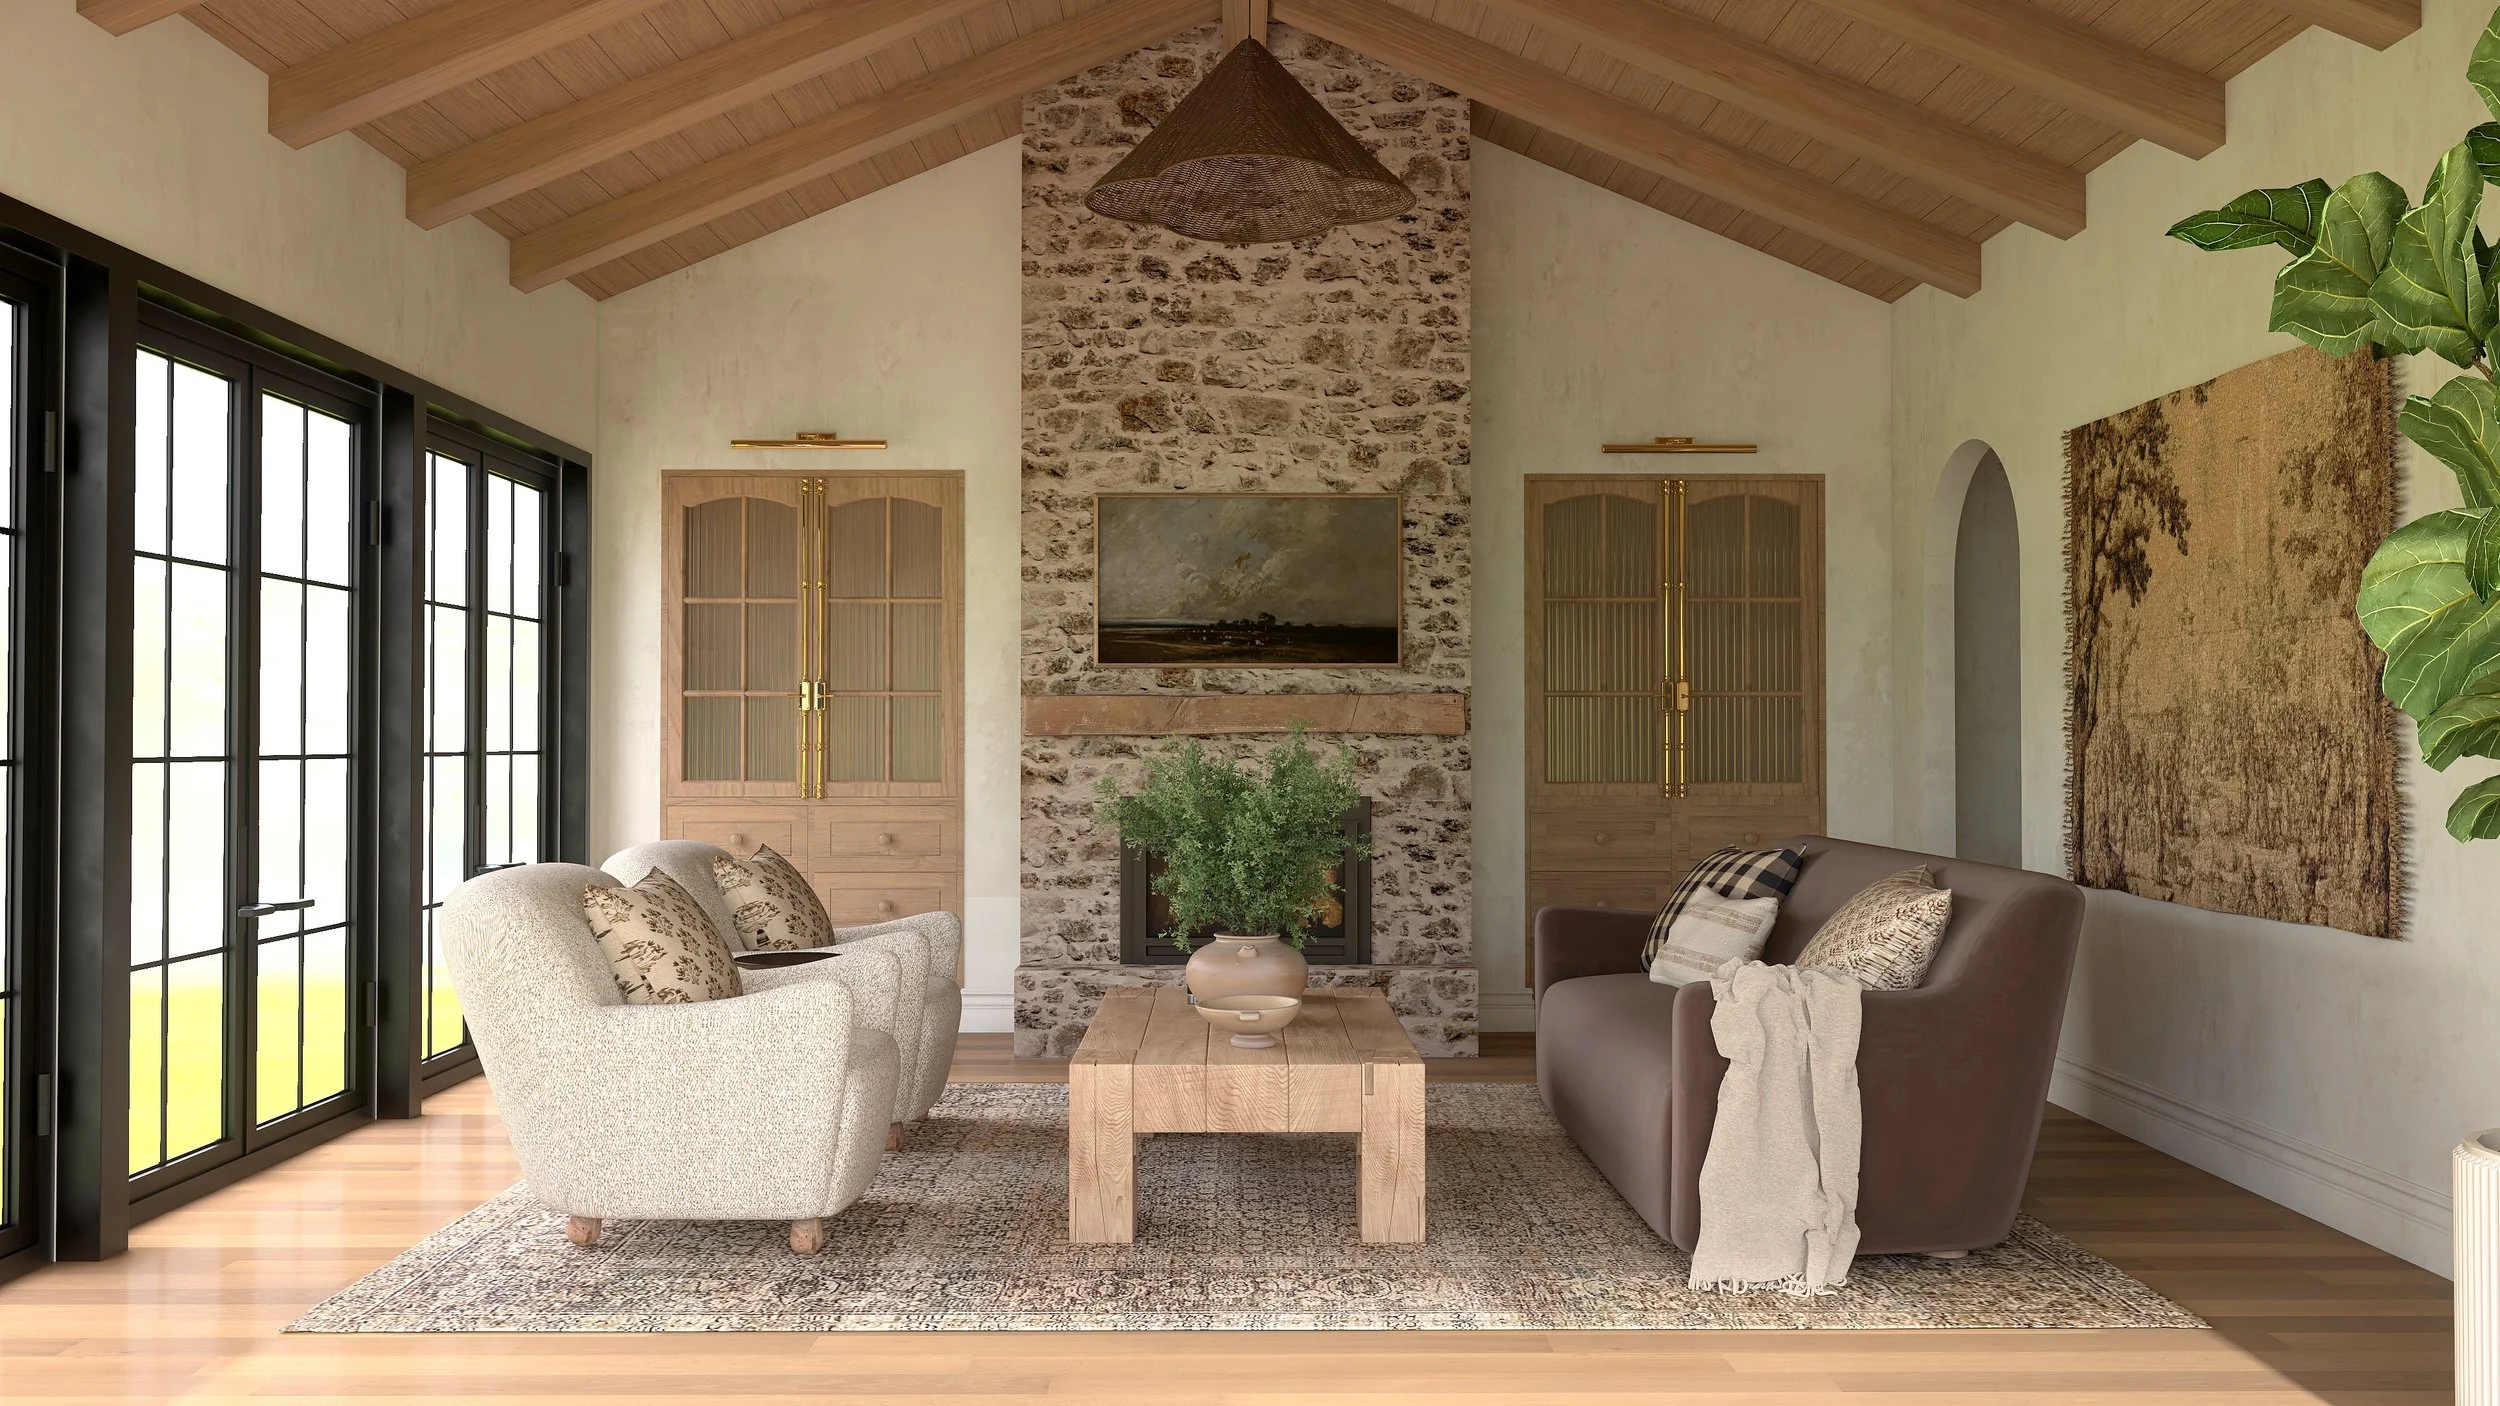
Lesson 3: Pitched/Vaulted Ceilings & Adding Beams
Introduce your lesson with an optional, short summary. You can edit this excerpt in lesson settings.
-
Lesson 4: Fireplace Hacks
Introduce your lesson with an optional, short summary. You can edit this excerpt in lesson settings.
-
Lesson 5: Arches & Arched Niches
Introduce your lesson with an optional, short summary. You can edit this excerpt in lesson settings.
-
Lesson 6: Recessed Built-in Cabinetry
Introduce your lesson with an optional, short summary. You can edit this excerpt in lesson settings.
-
-
Module 4: Honing in on Kitchen Design
-
Lesson 1: Inset Cabinetry, Fav Cabinet Doors, Toe Kicks, & Crown Moulding
Introduce your lesson with an optional, short summary. You can edit this excerpt in lesson settings.
-
Lesson 2: Range Alcoves & Vent Hoods
Introduce your lesson with an optional, short summary. You can edit this excerpt in lesson settings.
-
Lesson 3: Countertop Edges & Integrated Sinks
Introduce your lesson with an optional, short summary. You can edit this excerpt in lesson settings.
-
Lesson 4: Cabinet Pulls/Knobs
Introduce your lesson with an optional, short summary. You can edit this excerpt in lesson settings.
-
Lesson 5: Curved Islands
Introduce your lesson with an optional, short summary. You can edit this excerpt in lesson settings.
-
-
Module 5: Moulding & Wainscoting
-
Module 6: Video Rendering
-
Module 7: Workflow & Folders
-
Module 8: Layouts & Elevations
-
Closing Time: Thanks For Being Here